 MyGNU.de
Modular Linux kernel for the Gemini PDA
For the Debian Technology Preview image for the Gemini PDA a monolithic kernel has been used. In order to get as many peripherals as possible working a modular kernel is necessary. So I decided to build a custom kernel.
Since the suspend on lid close feature only works with the community kernel, the kernel source from https://github.com/gemian/gemini-linux-kernel-3.18 has been used. After cloning I have followed the instructions on https://github.com/gemian/gemini-keyboard-apps/wiki/KernelCompilation. During kernel configuration I have changed the following options:
•Enabled kernel modules
•Enabled modules for nearly all USB devices
•Enabled modules for nearly all filesystems
•Enabled modules for nearly all encryptions/hashes/compressions
•Enabled multiple options for iptables
•Disabled ANDROID_PARANOID_NETWORK (for not having to add the user for every network service to the groups aid_inet_raw and aid_inet)
•Enabled CONFIG_JUMP_LABEL (for better performance)
•Enabled CONFIG_TASK_IO_ACCOUNTING (for using iotop)
This results in this kernel configuration: gemini-3.18.41+-config.gz (16264 downloads )
After building the kernel modules for the iptables MIRROR target (will not be usable with the default iptables version on the Gemini) and frandom have been added.
Those who do not want to go through this themselves can download my kernel from here:
Kernel Image: linux_boot-gemini-3.18.41+.img (510 downloads )
Modules: modules_firmware-gemini-3.18.41+.tar.gz (21240 downloads )
Downloads outdated, new version at: Improved modular Linux kernel for the Gemini PDA
Instructions for flashing the image can be found on: support.planetcom.co.uk. Make sure to use the same scatter file that has been used for the initial flashing. Using the Download only mode of the flash tool is sufficient. Uncheck all partitions but linux_boot (or boot if you boot into linux as default). For the linux_boot respectively the boot partition select the downloaded kernel image. After flashing, copy the modules archive onto your Gemini and extract it in your root directory:
cd /
tar -xzf /path_to/modules_firmware-gemini-3.18.41+.tar.gz
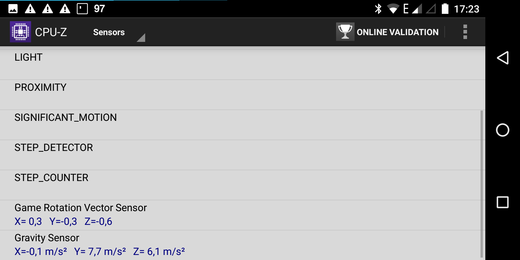
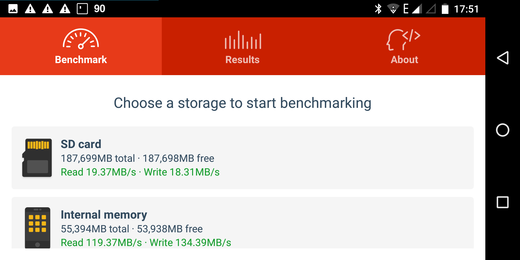
After rebooting the device should feel a bit smoother and many USB peripherals should work.
Regards
Jürgen
 (No Ratings Yet)


![[Valid RSS]](https://validator.w3.org/feed/images/valid-rss.png "Validate my RSS feed")

